What's the Best Way to Display Collectibles on Walls Without Damage?

What You'll Learn From This Guide
This guide covers practical methods for mounting Disney figures, movie memorabilia, and pop culture collectibles on your walls—without drilling holes, risking your security deposit, or damaging your prized possessions. You'll discover rental-friendly mounting solutions, space-maximizing arrangements, and protective techniques that keep items safe while turning bare walls into gallery-worthy displays. Whether you're working with a studio apartment or a dedicated collector's room, these approaches help you showcase what you love.
What Mounting Options Work Best for Different Collectible Types?
Not every item belongs on a nail. The weight, material, and value of your collectible should dictate how you mount it—and ignoring this reality leads to cracked resin, torn drywall, or worse.
Lightweight Items (Under 2 lbs): Disney pins, small Funko Pops in box, lobby cards, and pressed pennants respond well to damage-free hanging strips. Products like Command Picture Hanging Strips distribute weight across a broader surface area than adhesive hooks. You'll want to use multiple strips—never just one—and follow the weight ratings religiously. A standard large strip pair holds roughly 4 lbs, but that's under ideal conditions on clean, smooth surfaces.
Medium Weight (2–10 lbs): Framed movie posters, shadow boxes with single figures, and lightweight shelves require more support. Floating shelves with hidden brackets work well here—brands like IKEA's LACK series or wall-mounted ledges from The Container Store distribute weight across studs or drywall anchors. For rental situations, tension-based display systems (think shower curtain rods, but designed for shelving) can span between walls without permanent installation.
Heavier Collectibles (10+ lbs): Large statues, framed original art, or multi-figure displays need stud-mounted hardware. There's no getting around this—adhesive strips will fail, and drywall anchors pull out under sustained load. Use a stud finder, pre-drill pilot holes, and select hooks or brackets rated for at least 150% of your item's weight. This isn't the place to cut corners.
Surface Matters More Than You Think
Painted drywall, brick, tile, and wallpaper each present different challenges. Adhesive strips bond poorly to textured walls—those orange-peel finishes common in apartments reduce contact surface dramatically. Brick and tile require masonry bits and specialized anchors. Fresh paint needs at least two weeks to cure before any adhesive application. Test your mounting method on an inconspicuous area first, especially with vintage wallpaper or delicate finishes.
How Can Renters Display Collections Without Losing Their Deposit?
Living in a rental doesn't mean living with bare walls. The key is thinking in terms of "temporary permanence"—solutions that feel substantial but leave zero trace.
Lean, Don't Hang: Floating shelves, narrow console tables, and bookcase tops provide vertical display space without wall contact. A well-placed etagere or ladder shelf against a wall gives you six feet of display real estate. Position larger items (boxed figures, statuettes) on lower shelves for stability, with lighter pieces higher up.
Modular Display Systems: Companies like West Elm and CB2 sell tension-mounted room dividers that double as display structures. These press against floor and ceiling without wall attachment, creating gallery walls in the middle of rooms. They're particularly effective for studio apartments where you want to define separate living zones.
Command Products Done Right: The failure stories you've heard almost always involve improper surface prep or exceeding weight ratings. Clean the wall with isopropyl alcohol first—not household cleaners that leave residue. Press strips firmly for 30 seconds, then wait one hour before hanging anything. When removal time comes, pull the tab parallel to the wall, not toward you. Slow and steady prevents paint damage.
The Museum Putty Secret
For items on shelves that might tip during earthquakes (or enthusiastic cleaning), museum putty—also called quake hold—provides invisible stability. This removable adhesive secures bases to surfaces without permanent bonding. It's reversible, leaves no residue on most materials, and costs pennies per application. Collectors in earthquake zones swear by it, but it's equally useful in households with pets, children, or clumsy adults.
How Should You Arrange Items for Maximum Visual Impact?
Random placement looks like clutter. Intentional arrangement looks like a collection. The difference isn't budget—it's composition.
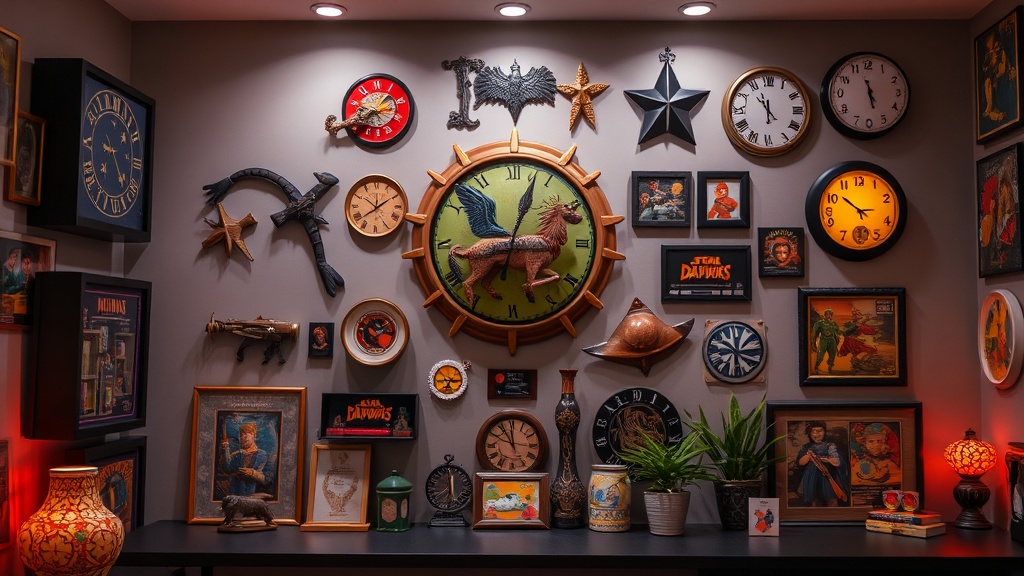
The Salon Wall Approach: Named after the crowded hanging style of 19th-century Paris exhibitions, this method groups items closely together—usually 2–3 inches apart. It works beautifully for mixed media: lobby cards beside pins, small figures alongside movie posters. Start with your largest piece slightly off-center, then build outward, maintaining consistent spacing. The density creates visual coherence even with diverse items.
Grid Systems for Formal Displays: Equal spacing, straight lines, and mathematical precision suit boxed collectibles—Funko Pops, Disney Infinity figures, or amiibo. Measure your wall space, divide by item width plus desired spacing, and mark lightly with pencil. Use a level. The uniformity reads as intentional curation rather than accumulation.
Vertical Zones by Theme: Group items by franchise, era, or color story. A "Disney Renaissance" section might feature Little Mermaid and Beauty and the Beast memorabilia at eye level, with related pieces radiating outward. This narrative approach helps visitors understand what they're seeing—and reminds you why you collected these items in the first place.
Lighting Without Hardwiring
Shadow destroys display impact. Battery-operated puck lights, adhesive LED strips, and rechargeable picture lights illuminate collections without electrical work. Position lights to minimize glare on glass or glossy surfaces—usually 30-degree angles work best. For UV-sensitive items (vintage posters, certain plastics), ensure your light sources are LED rather than halogen or incandescent.
What Protection Do Wall-Displayed Items Need?
Moving collectibles from shelves to walls exposes them to different risks—sunlight, dust accumulation, and accidental bumps from passing traffic.
UV Filtration: East and west-facing windows deliver harsh afternoon light that fades artwork and degrades plastics. If your display wall receives direct sunlight, apply UV-filtering film to windows (available from hardware retailers) or rotate items every few months. For high-value pieces, consider framing with conservation glass that blocks 99% of UV radiation.
Dust Management: Wall-mounted items collect dust differently than shelf pieces—air circulation patterns determine where particles settle. Use compressed air quarterly for intricate figures, and microfiber cloths for flat surfaces. Shadow boxes with glass fronts eliminate this maintenance entirely while adding a premium presentation layer.
Climate Considerations: Exterior walls experience wider temperature fluctuations than interior ones. Avoid mounting temperature-sensitive items (wax figures, certain adhesives, vintage plastics) on walls that face the outside. The thermal cycling degrades materials faster than stable interior conditions.
Insurance Documentation
Once items go on display, photograph them individually with scale references and serial numbers where applicable. Store these images offsite—cloud storage or a safety deposit box. Should damage occur from a mounting failure, natural disaster, or break-in, this documentation supports insurance claims. Standard renters or homeowners insurance often has sub-limits for collectibles; verify your coverage matches your collection's value.
Your walls are blank canvases waiting for curation. With the right mounting approach, protection strategy, and compositional thinking, you'll transform vertical space into a museum-quality showcase—one that respects both your collectibles and your living situation. Start with one section, evaluate what works, and expand deliberately. The best displays grow thoughtfully alongside the collections they hold.